Learn with GreatPPT School, step by step, how to add images to your PowerPoint presentations. You’ll also find out how to crop pictures and how to mask them.
Inserting an Image or GIF from Your Computer
- Open your presentation in PowerPoint.
- Select the slide where you want to add the image or GIF.
- On the Insert tab, in the Images group, click Pictures.

- A new window will open, where you can locate and select the image that you want to add to the slide. By default, it will be inserted directly into the presentation.
- Instead of clicking Insert, you can also click its drop-down arrow. You’ll see three different options:
- Insert. This is the one set by default.
- Link to File. With this one, the image will be linked and the size of the PowerPoint file won’t increase. However, you’ll need to link the image again if you open this presentation in a different computer. Otherwise, it won’t be displayed.
- Insert and Link. This option combines the other two.
- Choose the desired option from this drop-down list to add the image to your presentation.

Inserting an Online Image
- Open your presentation in PowerPoint.
- Select the slide where you want to add the image.
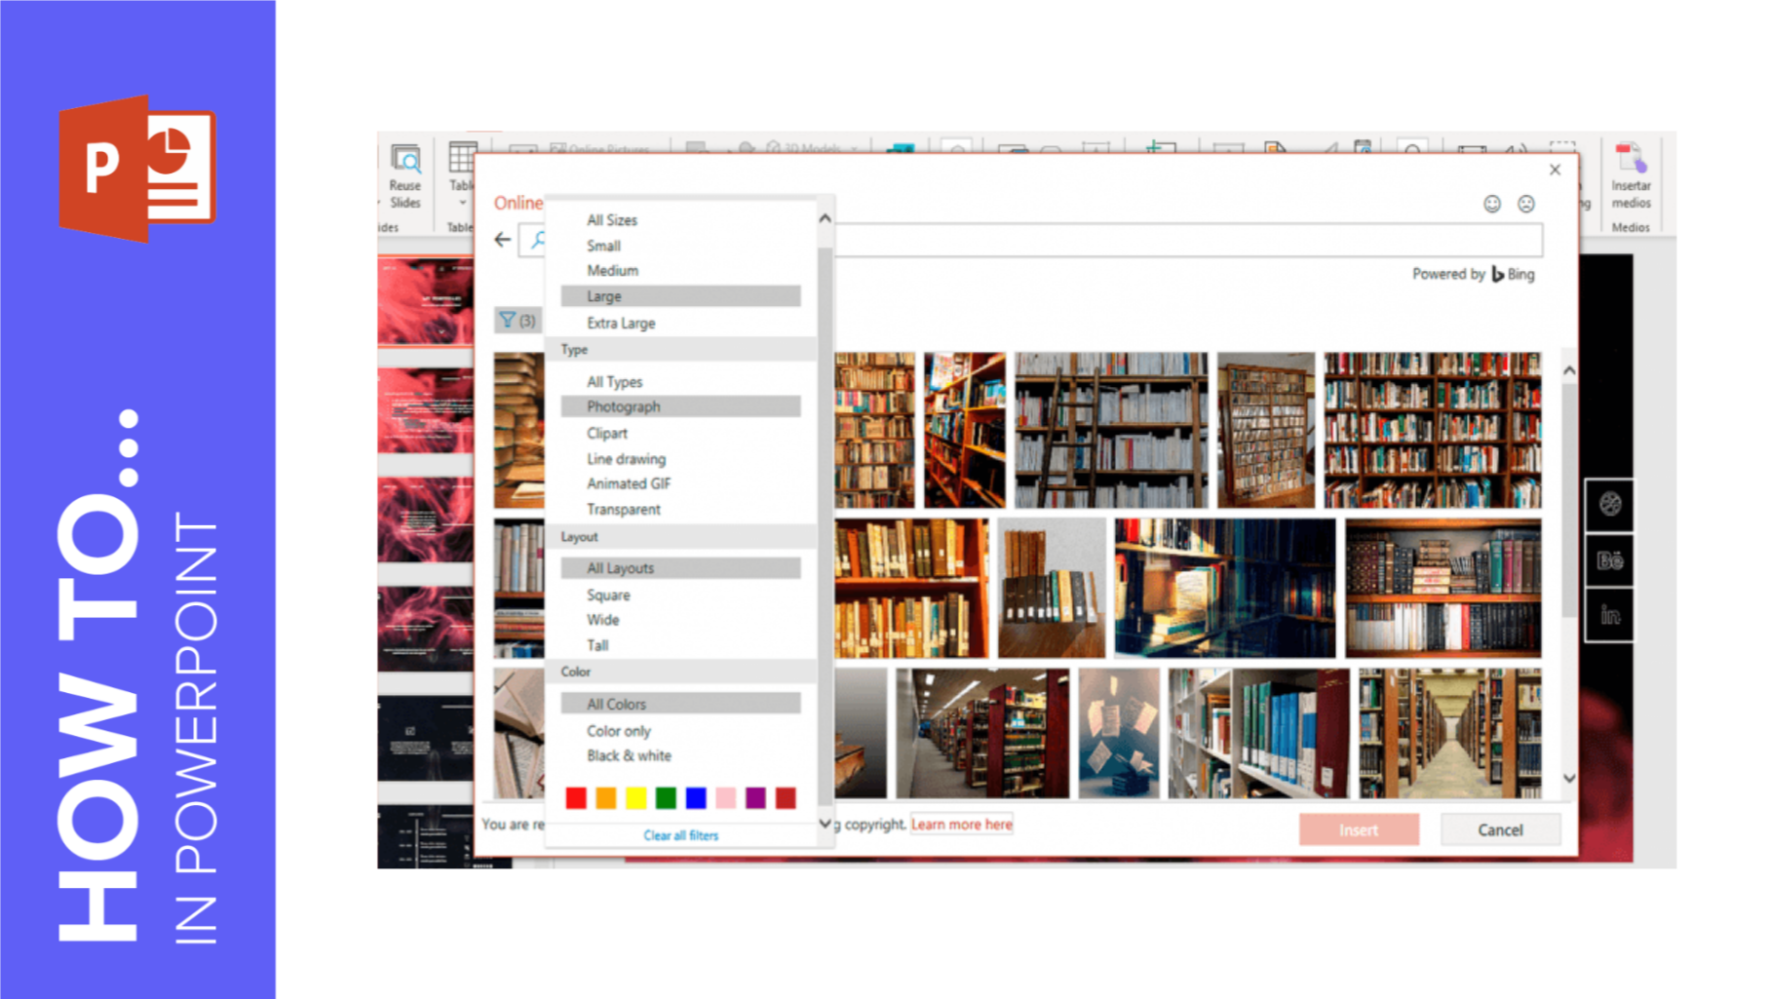
- On the Insert tab, in the Images group, click Online Pictures (if you have Microsoft PowerPoint 2013 or a newer version, you’ll be able to choose the source of the image, such as Bing or Onedrive).

- If you choose Bing Image Search, you can set it to display only images that are licensed under Creative Commons. You can also filter the results by size, type, color or design. Once you’ve selected the image that you want to add, click Insert.

- If you have an older PowerPoint version, this option won’t be available. Instead, you’ll find the Clip Art option, where you can choose an image from a preset gallery.
- This is not available either if you’re using older versions of PowerPoint for Mac (pre-2019).
Taking and Inserting a Screenshot
- Open your presentation in PowerPoint.
- Select the slide where you want to add the image.
- On the Insert tab, in the Images group, click the Screenshot drop-down arrow. You’ll see all the windows currently open in your computer.

- If you want to take a screenshot to a portion of any window, click Screen Clipping. PowerPoint will minimize itself and you’ll be able to take a screenshot of what’s on the background. We suggest that you prepare beforehand whatever you want to capture prior to clicking Screen Clipping. Once you’ve taken the screenshot, it will be inserted into the slide.

Cropping an Image
- Open your presentation in PowerPoint.
- Select the image you want to crop.
- A new tab will appear at the top, called Picture Format.

- On this tab, in the Size group, click Crop. Use the black handles to adjust the cropping.

- Use the Fill and Fit options to further adjust the cropping. If you want to manually set the height or width of the cropping, you can enter the values in the boxes next to Height or Width.

- To adjust the cropping to a specific aspect ratio, click the Crop drop-down arrow → Aspect Ratio. Then choose the desired option.

- To reset the image and remove the cropping, select the image, go to the Format Options tab and, in the Adjust group, click the Reset Picture drop-down arrow and select Reset Picture & Size.

Masking an Image
- Open your presentation in PowerPoint.
- Select the image you want to mask.
- A new tab will appear at the top, called Picture Format.
- On the Picture Format tab, in the Size group, click the Crop drop-down arrow.

- Click Crop to Shape and choose the shape that best fits your needs. Once done, it will be applied to the image.

- To reset the image and remove the mask, select the image, go to the Picture Format tab and, in the Adjust group, click Reset Picture.
