A visually attractive presentation is usually an effective way to get your message across, but how about text? How can you type it into your slides? Fear not, because in this GreatPPT School tutorial, we’ll teach you how to insert, copy and delete text boxes in PowerPoint.
Adding a Text Box
- Open your presentation in PowerPoint.
- Select the slide where you want to add a text.
- Go to the Insert tab and, in the Text group, click Text Box. As an alternative, you can press Alt + N to go to the Insert tab and then Alt + X to create a text box.
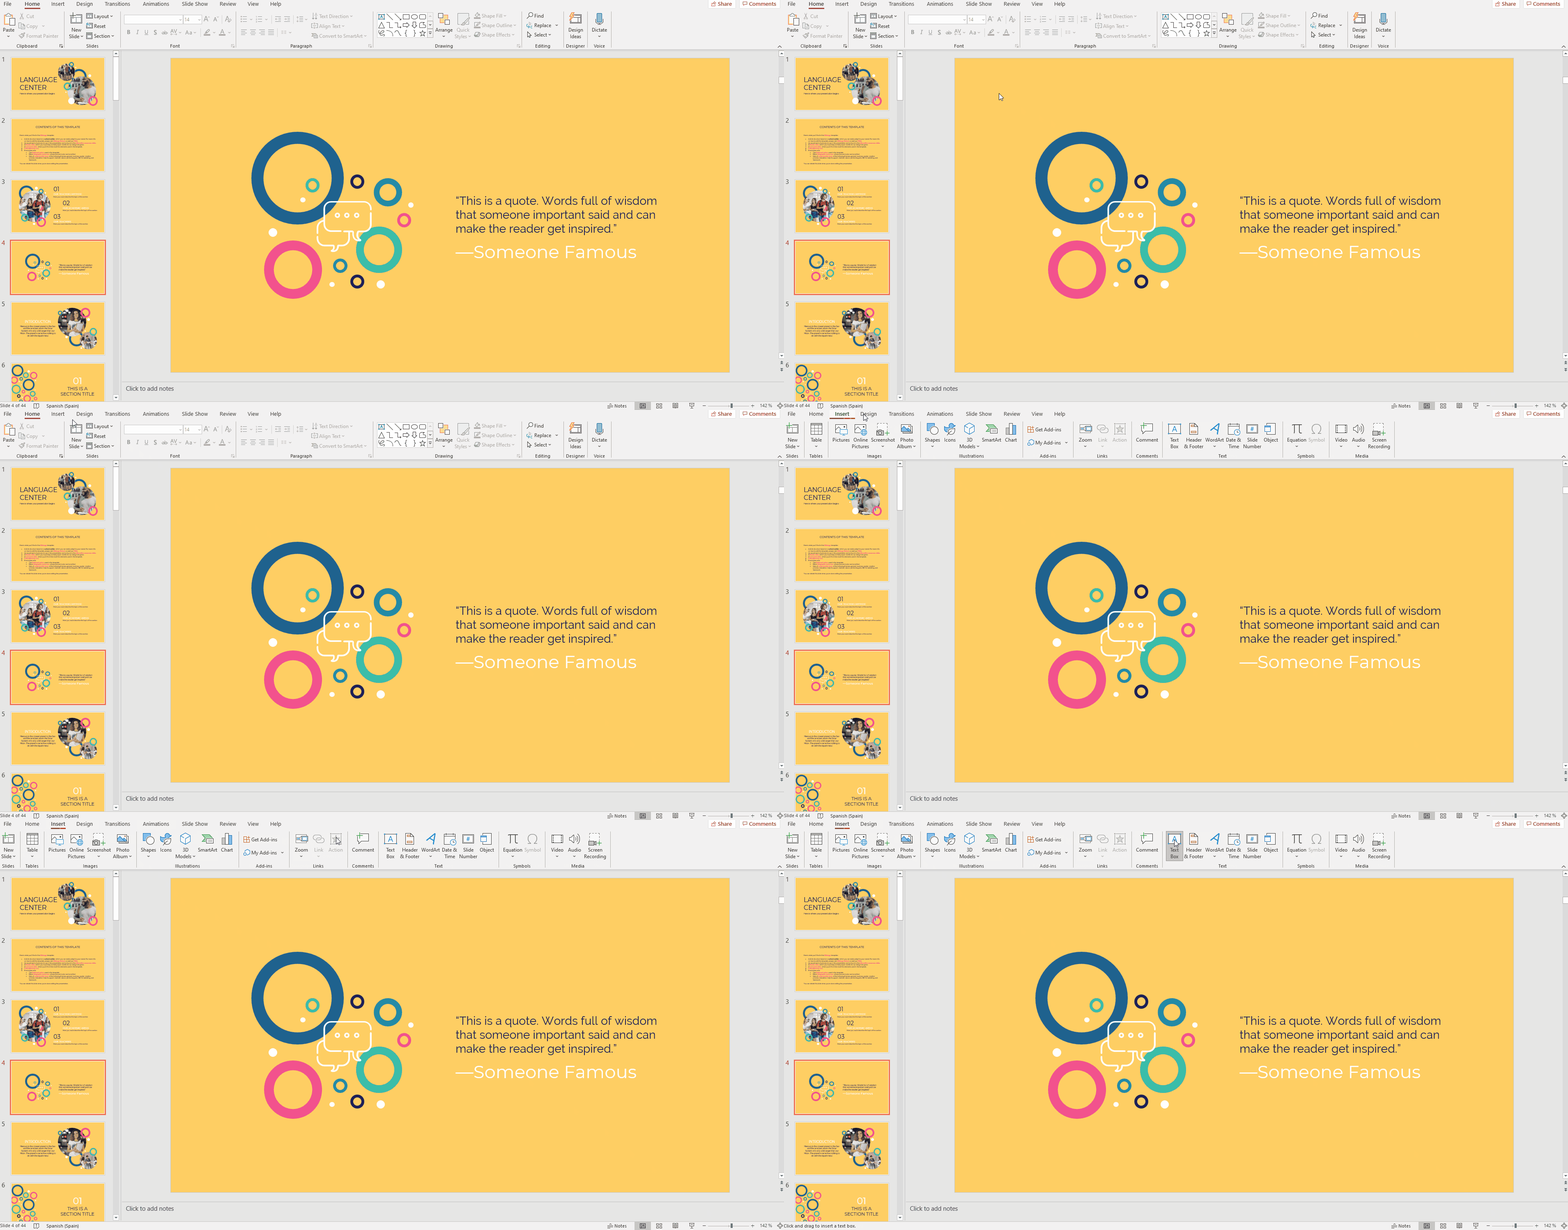
- You’ll notice that the cursor has changed. Now, click and drag to draw a text box. Release the mouse button when you’re happy with the size of the text box. You can move the text box around. Select it and, when the pointer becomes a four-headed arrow, drag it to its new placement.
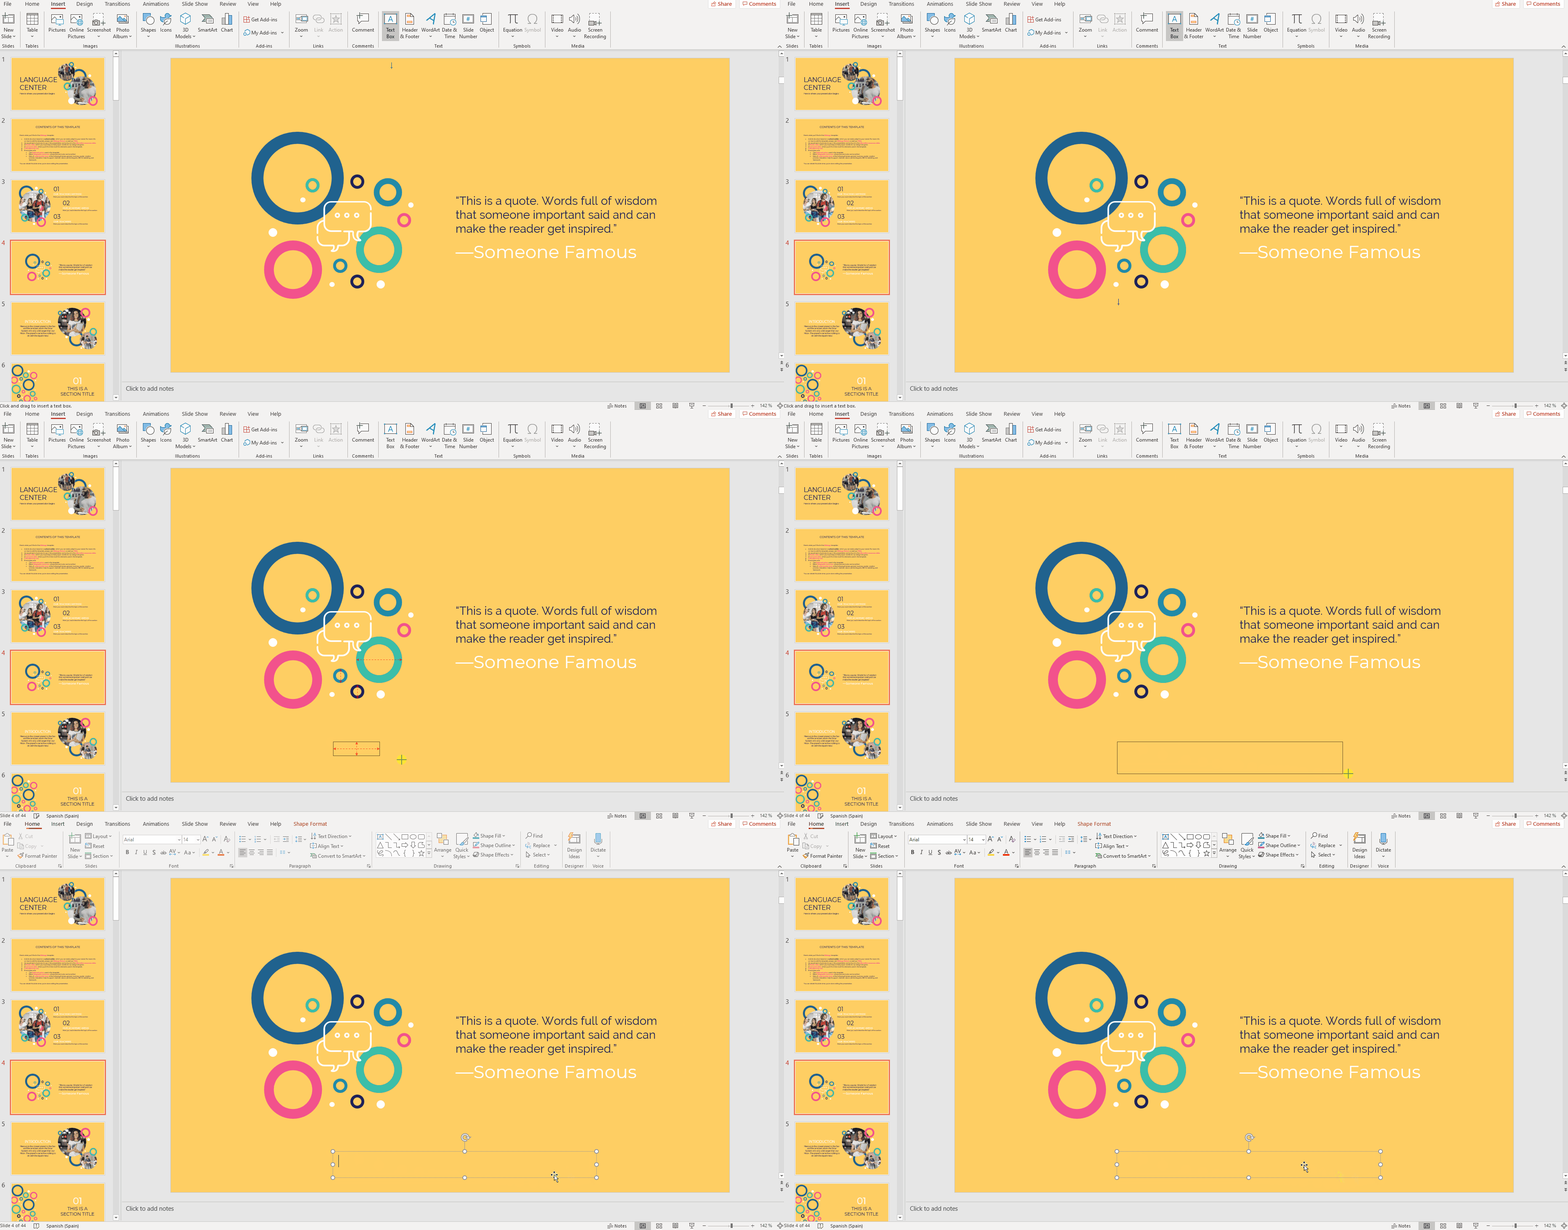
- Enter the text that you want.
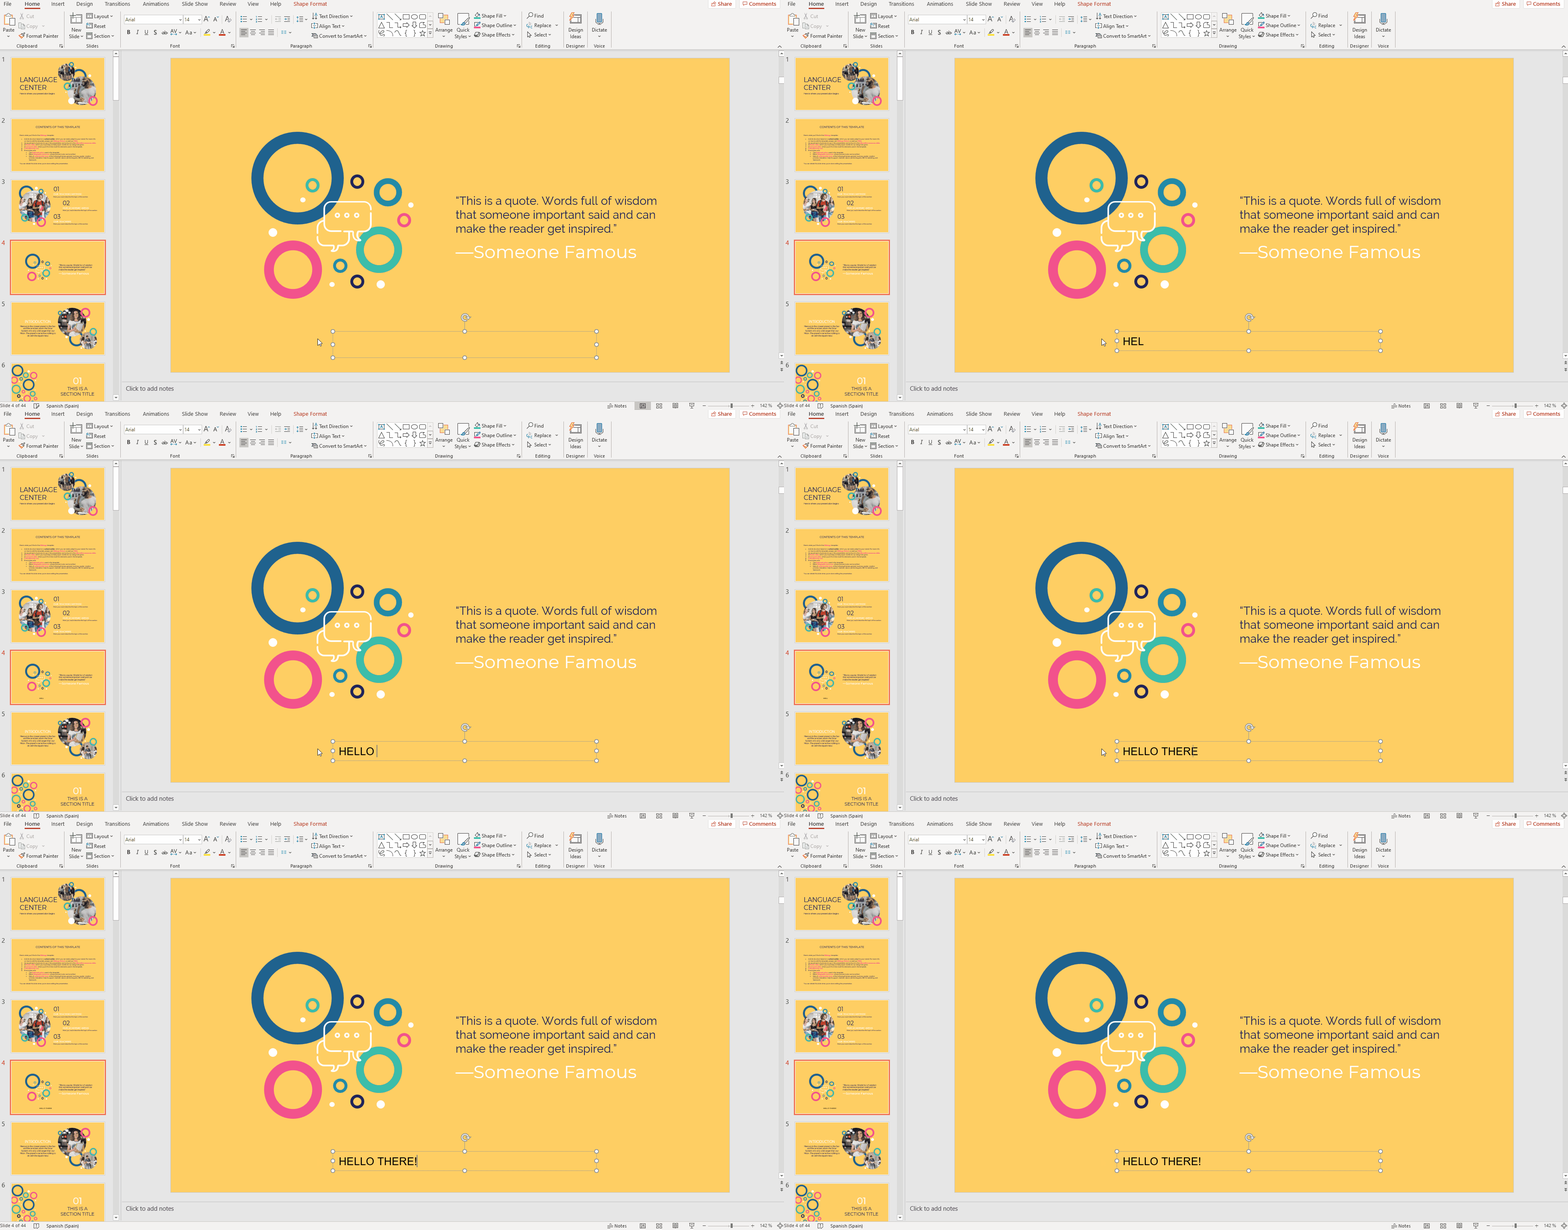
- Now you can edit the text. First, go to the Home tab.
- To change the font, the size or the color of the text, use the options from the Font group.
- To change the alignment, use the settings found in the Paragraph group.
- To change the fill color, the outline color or to apply effects such as a shadow, use the options found in the Drawing group.
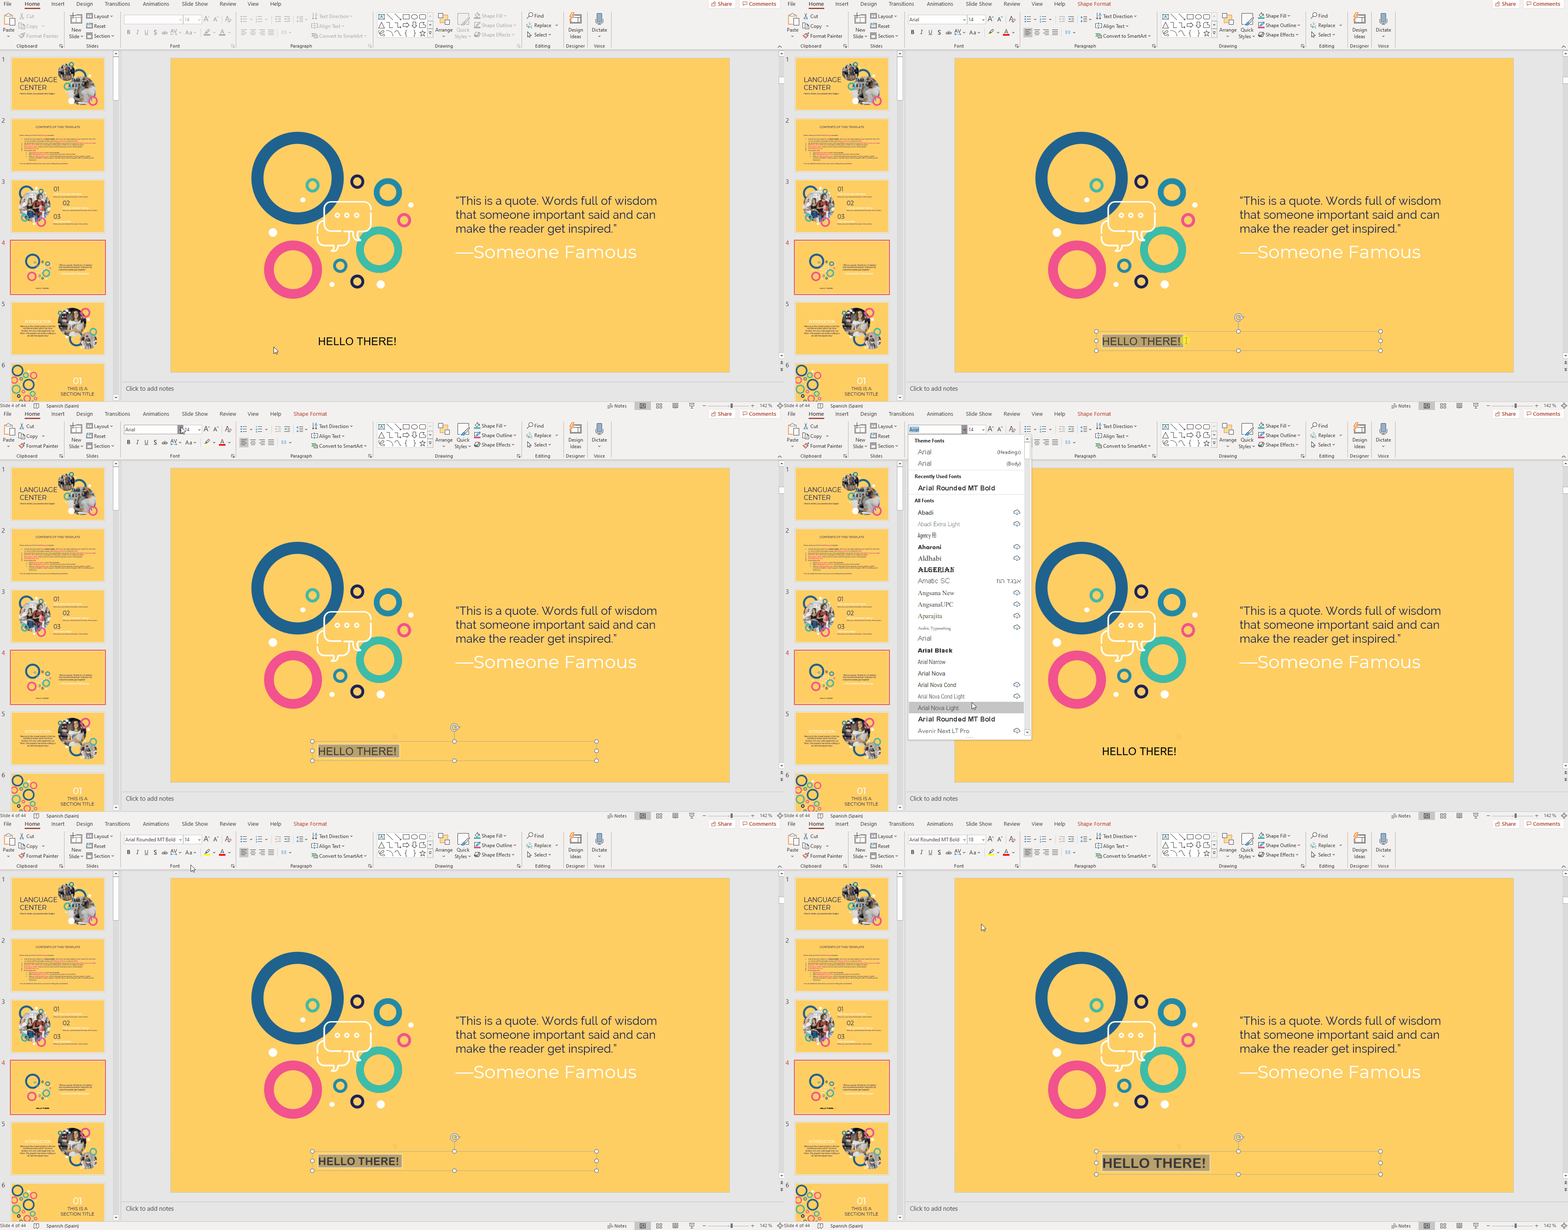
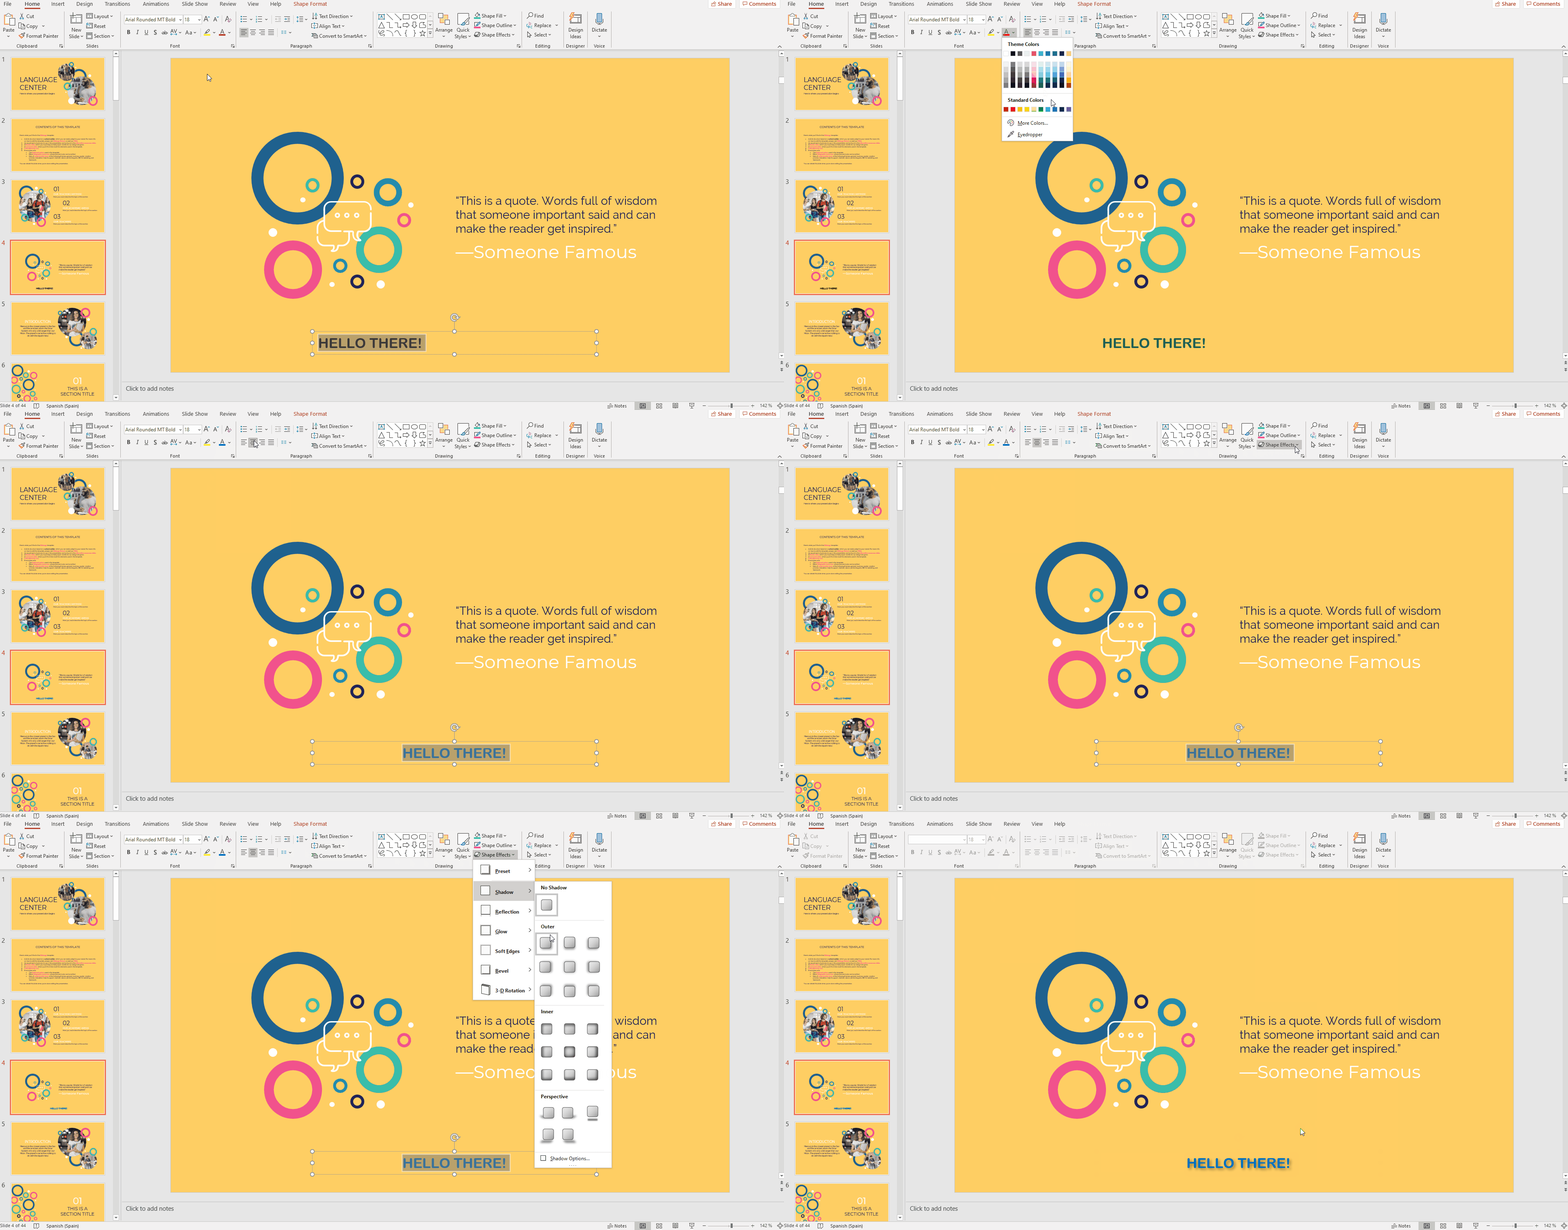
For more information on how to edit the text, please refer to the “How to Format the Text in PowerPoint” tutorial.
Adding the Same Text to Multiple Slides
- If you have several slides with a similar layout and want to add the same text to all of them in the same place, you can do so as long as they derive from the same layout master.
- Open your presentation in PowerPoint.
- Select one of the slides where you want to add a text.
- Access the master slides. To do so, on the View tab, in the Master Views group, click Slide Master.
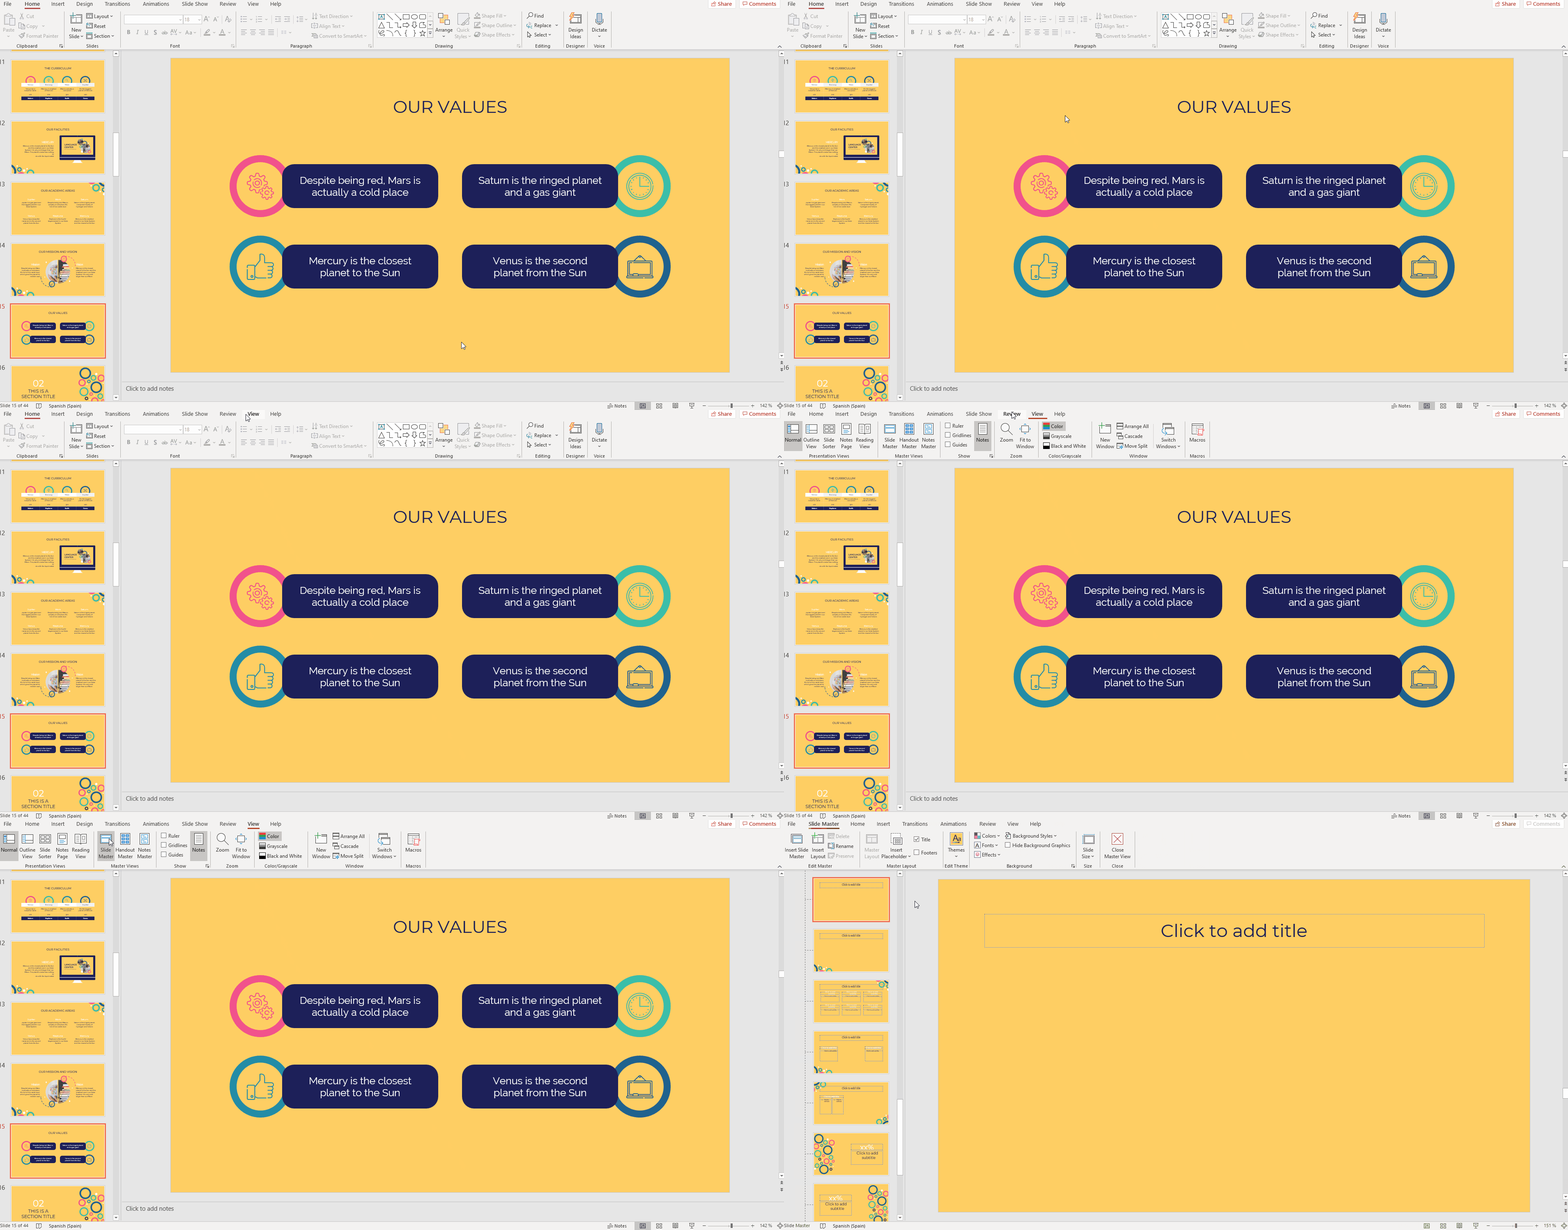
- The master editor view will open. By default, the layout master from which your chosen slide derives will be selected.
- Go to the Insert tab and, in the Text group, click Text Box.
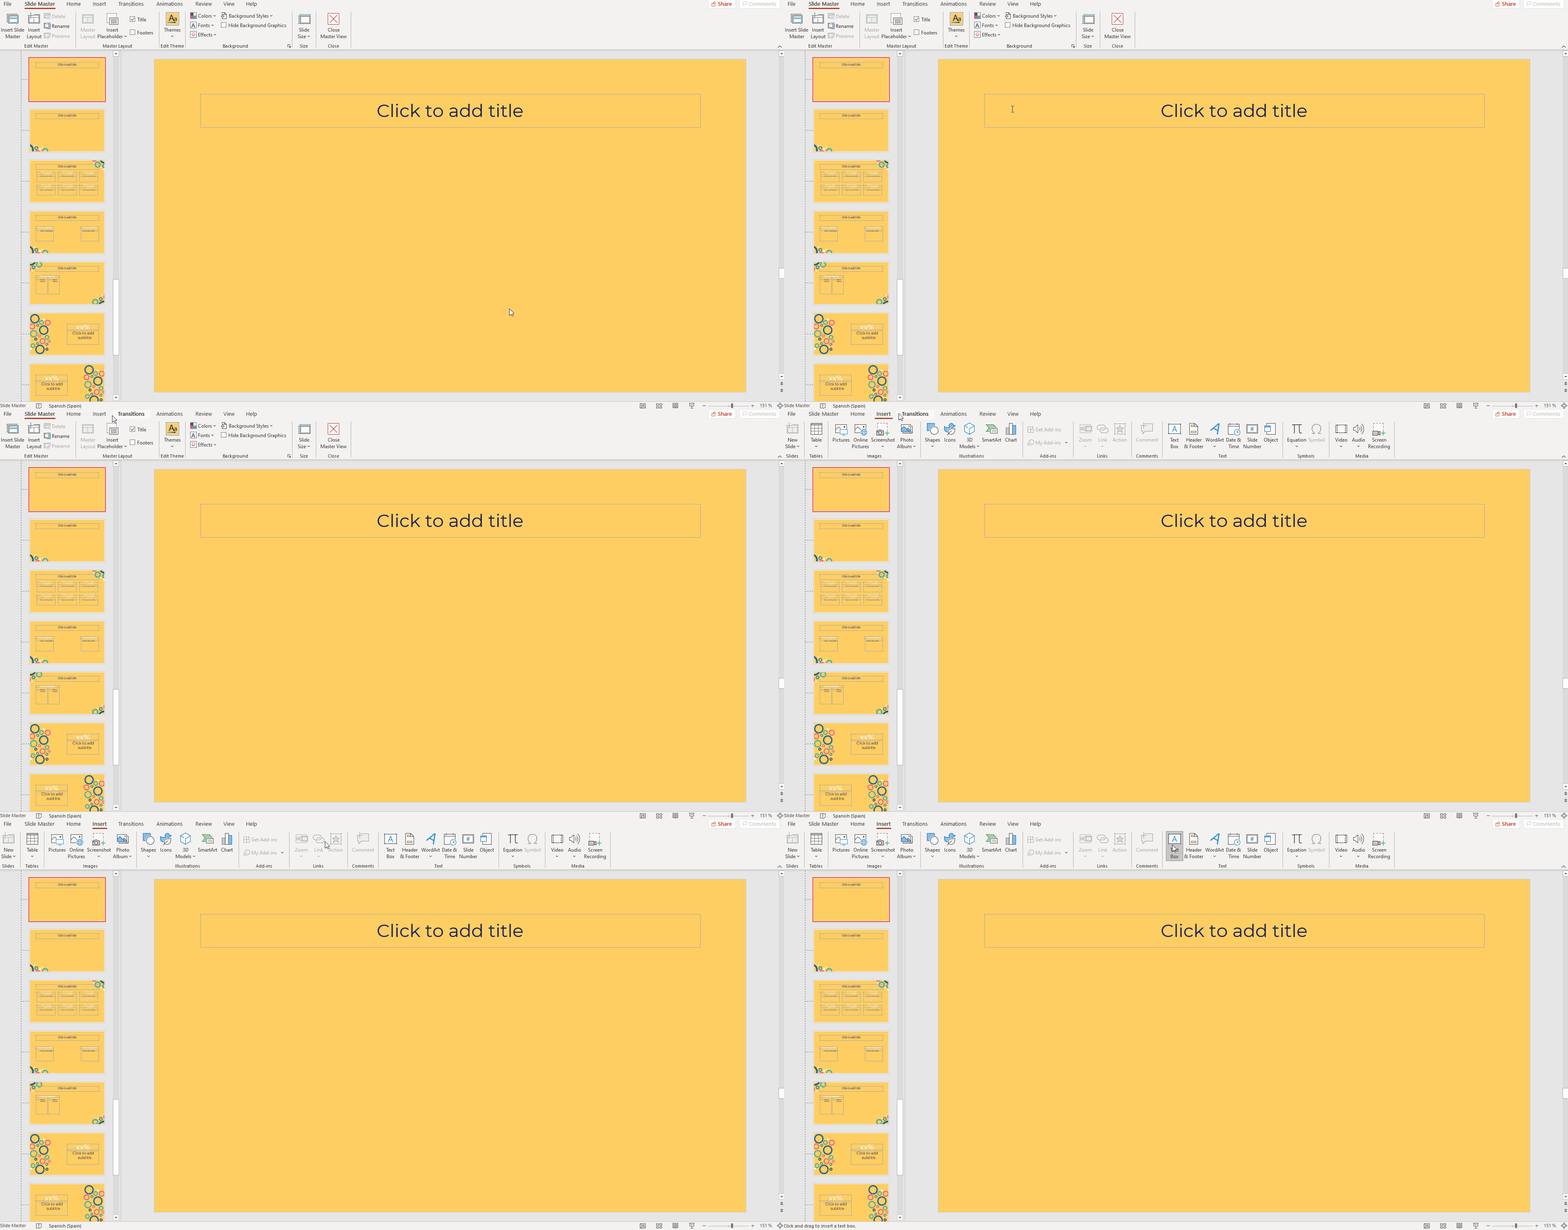
- You’ll notice that the cursor has changed. Now draw a text box by clicking and dragging.
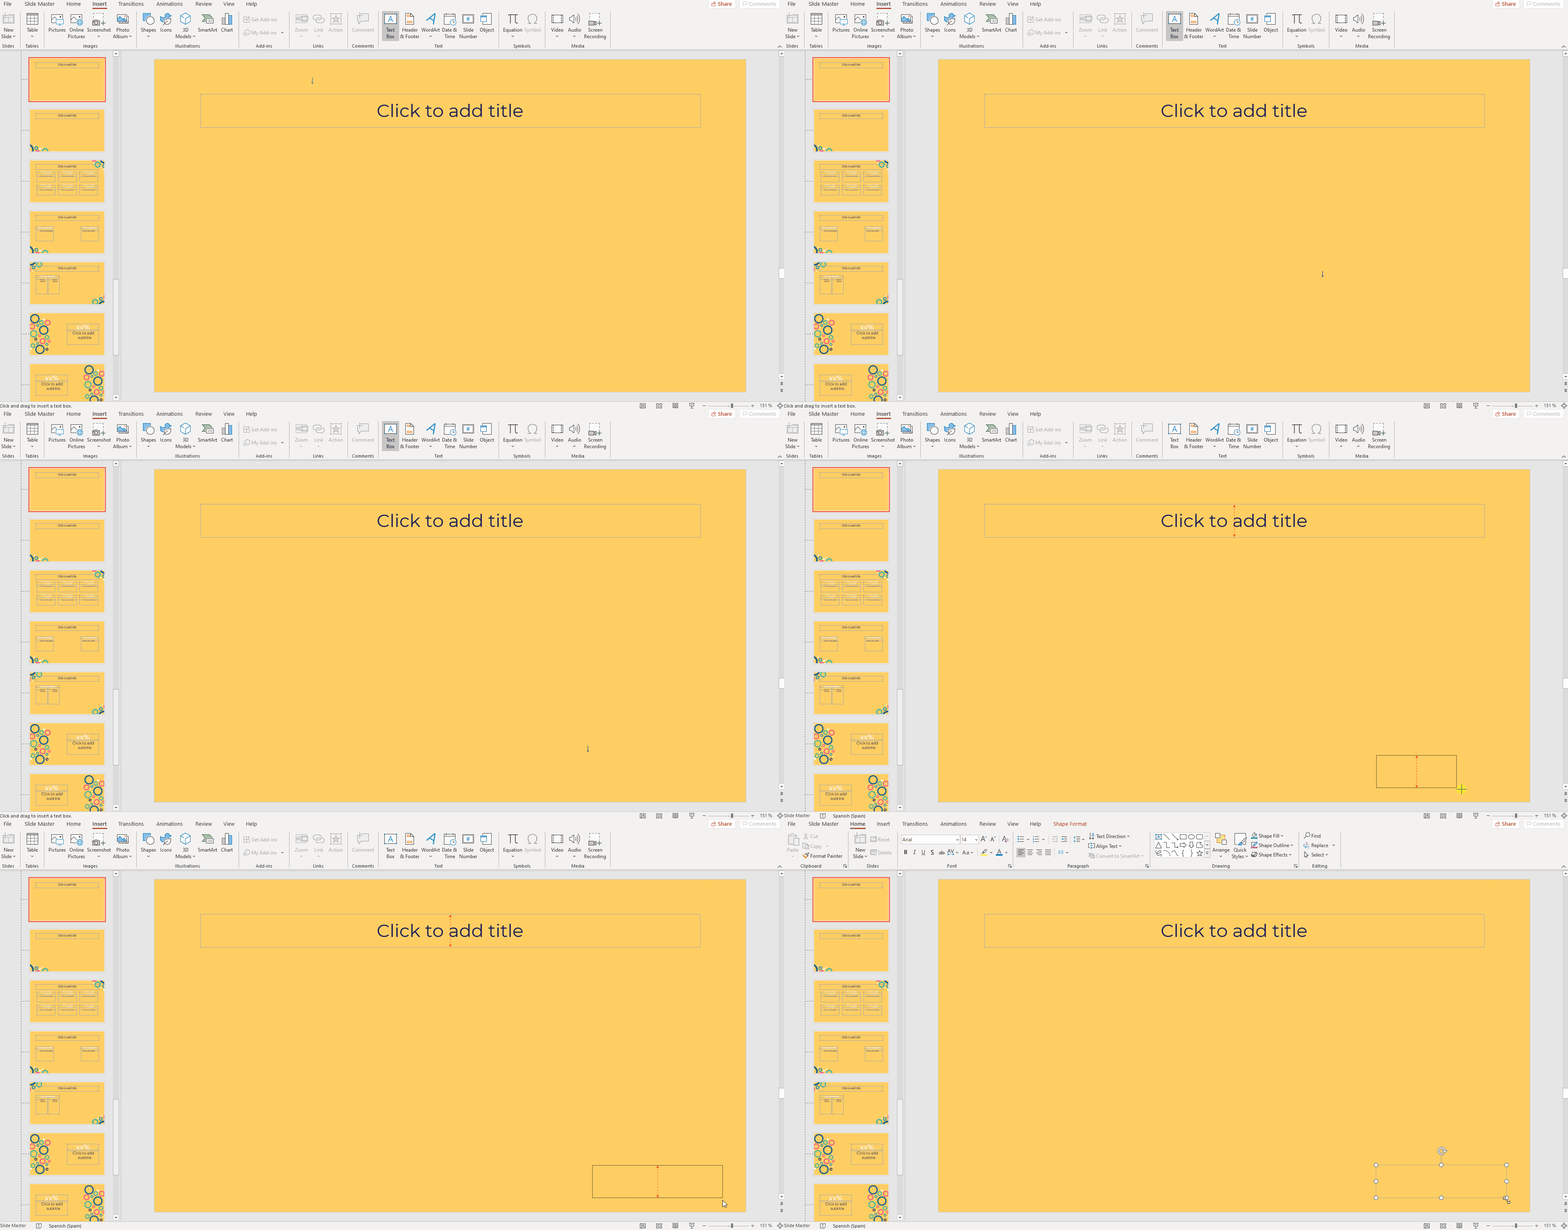
- Enter the text that you want.
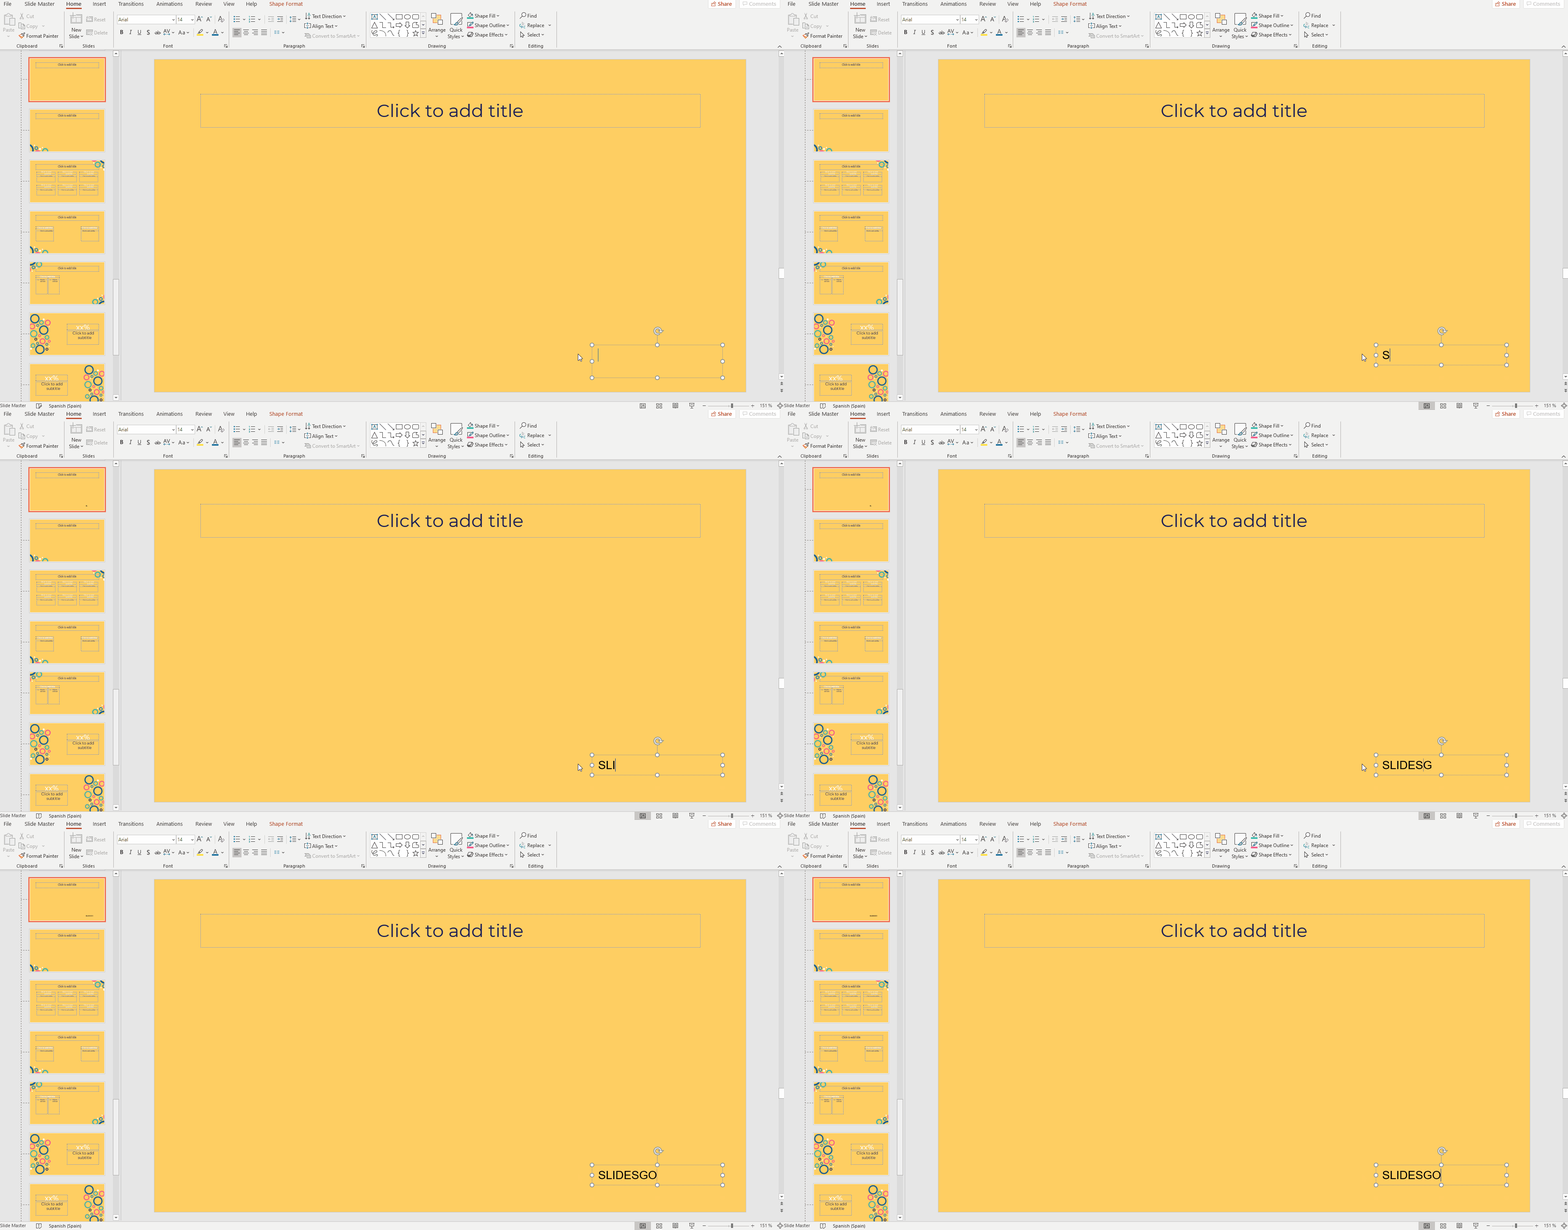
- If you wish, you can further edit the text. As explained before, go to the Home tab and use the options found in the Font, Paragraph and Drawing groups. For more information on how to edit the text, please refer to the “How to Format the Text in PowerPoint” tutorial.
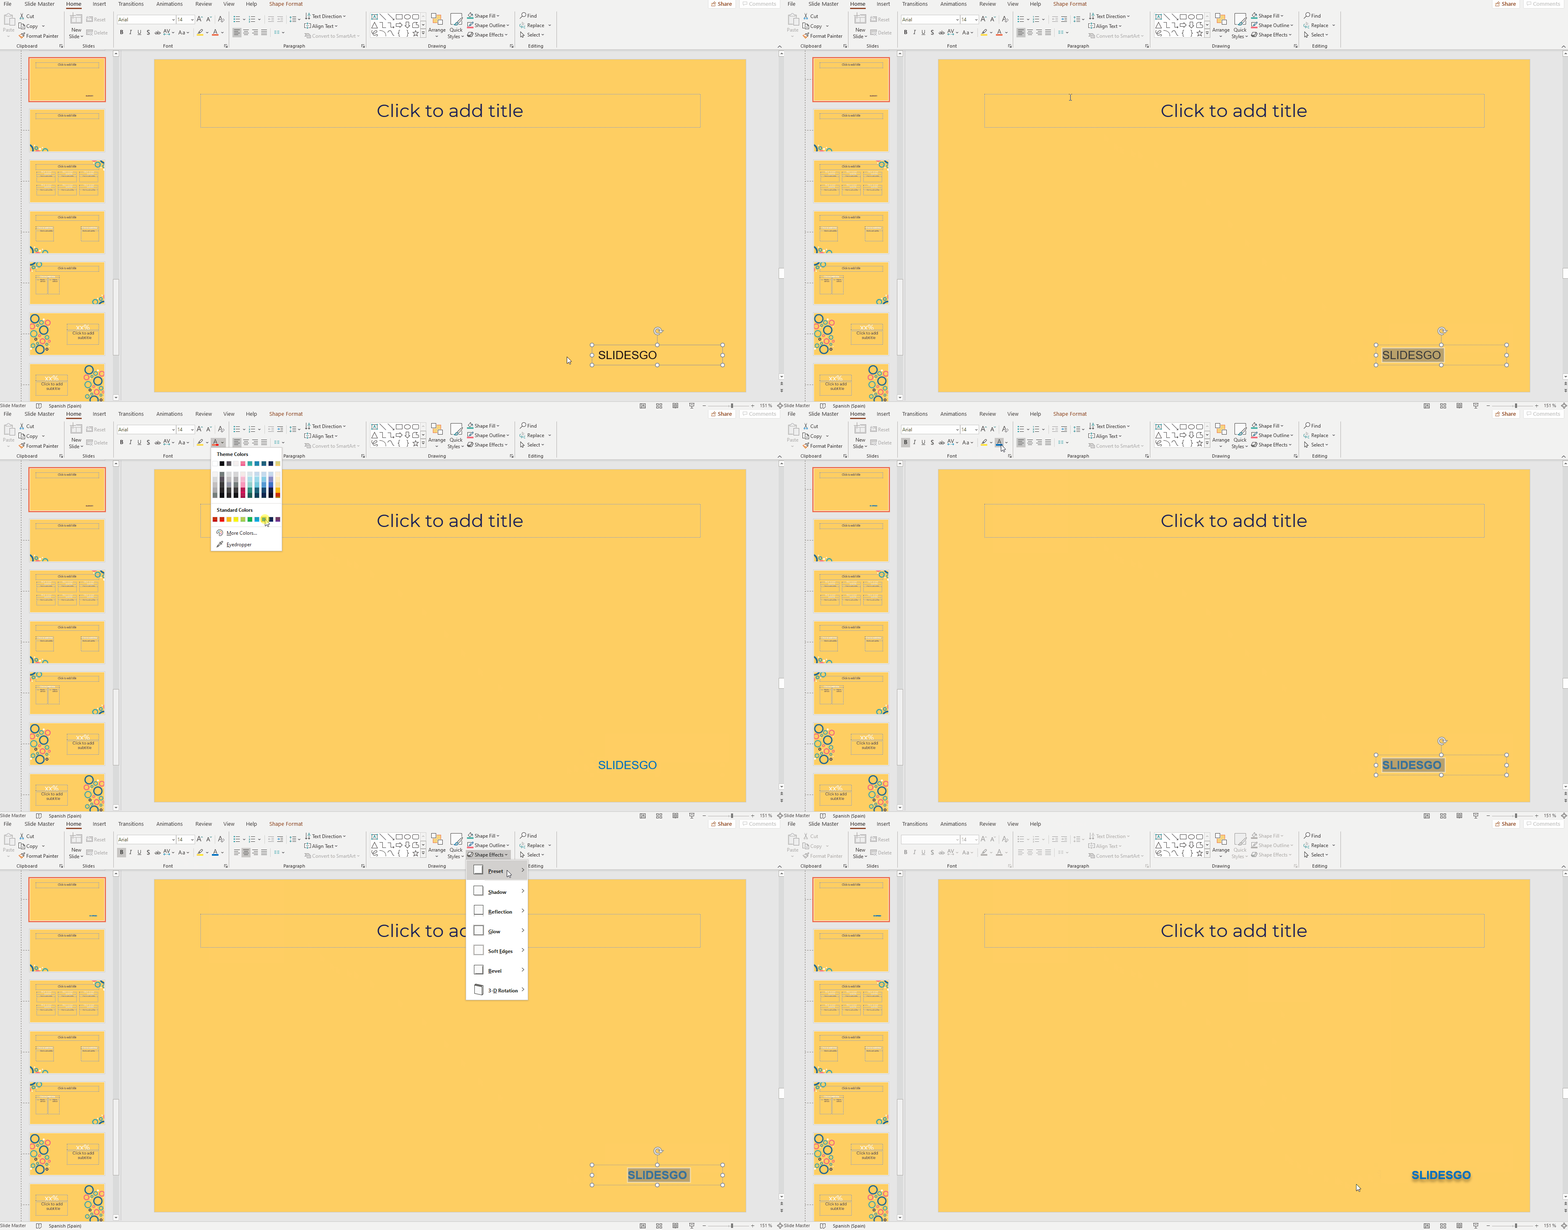
- Now exit the Slide Master by clicking Close Master View, located on the Slide Master tab.
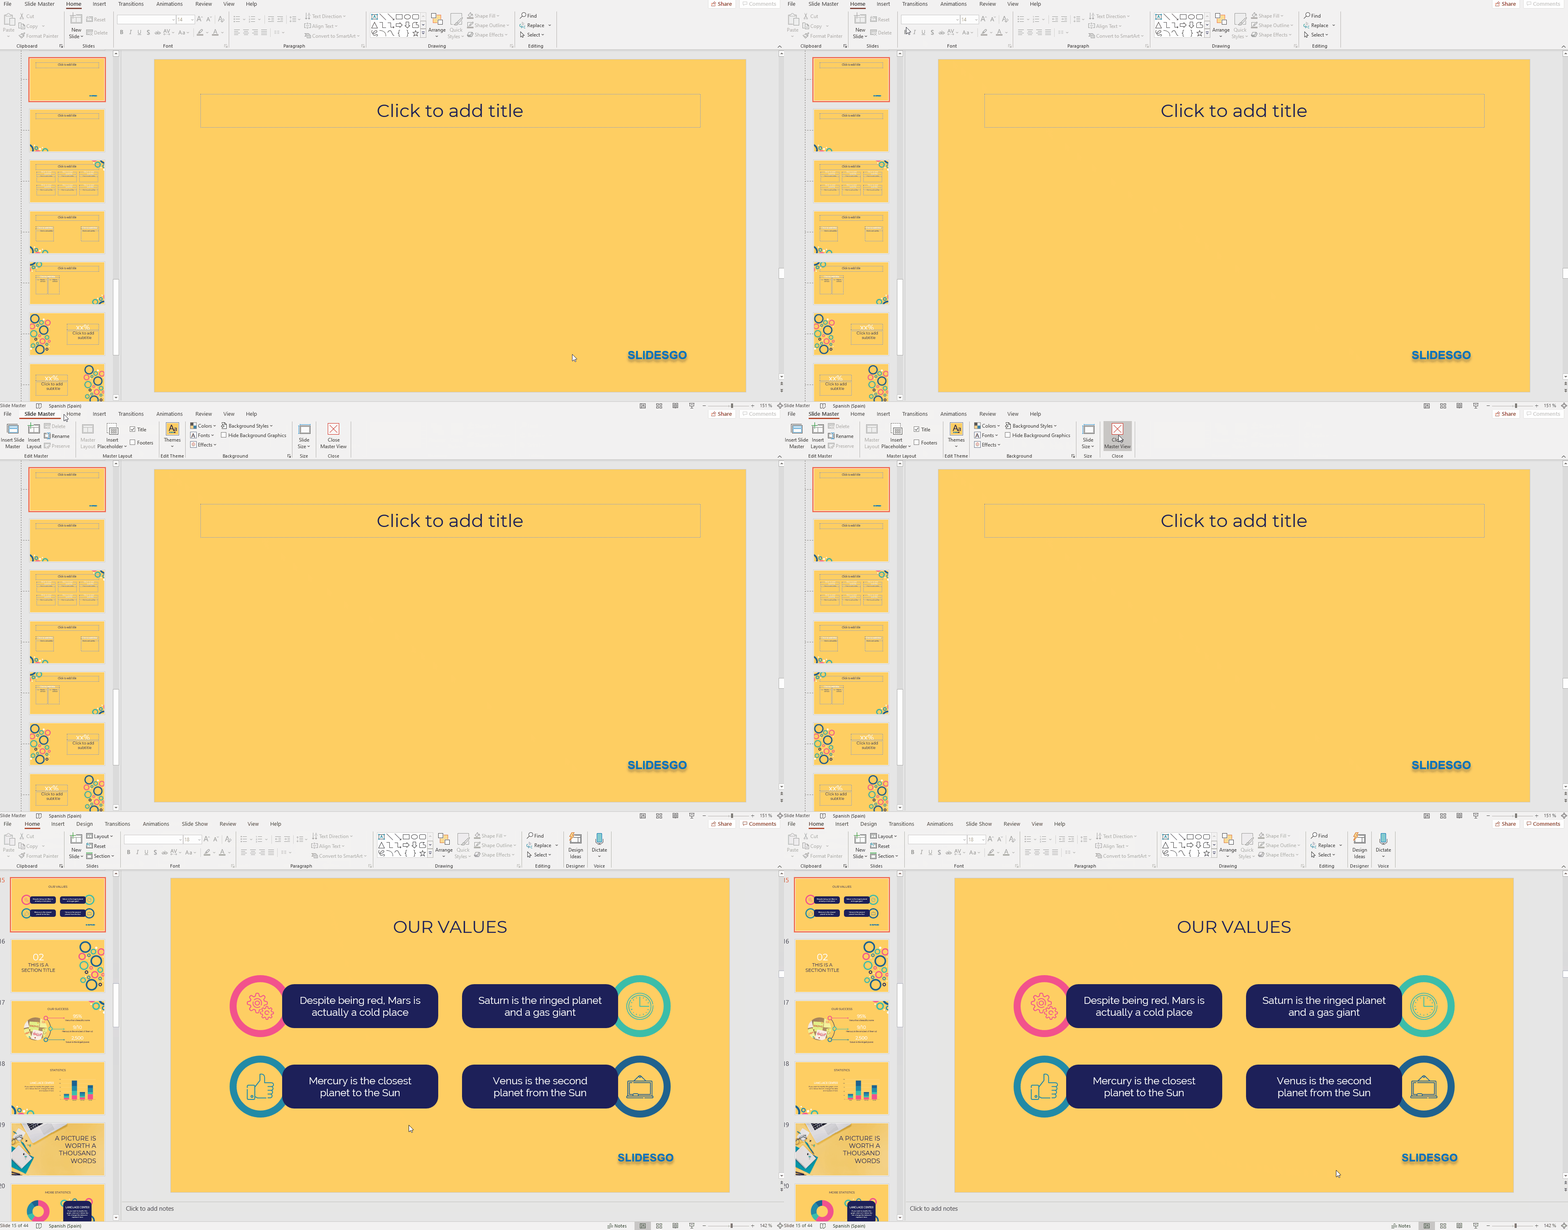
- The text will appear in all the slides derived from that layout master.
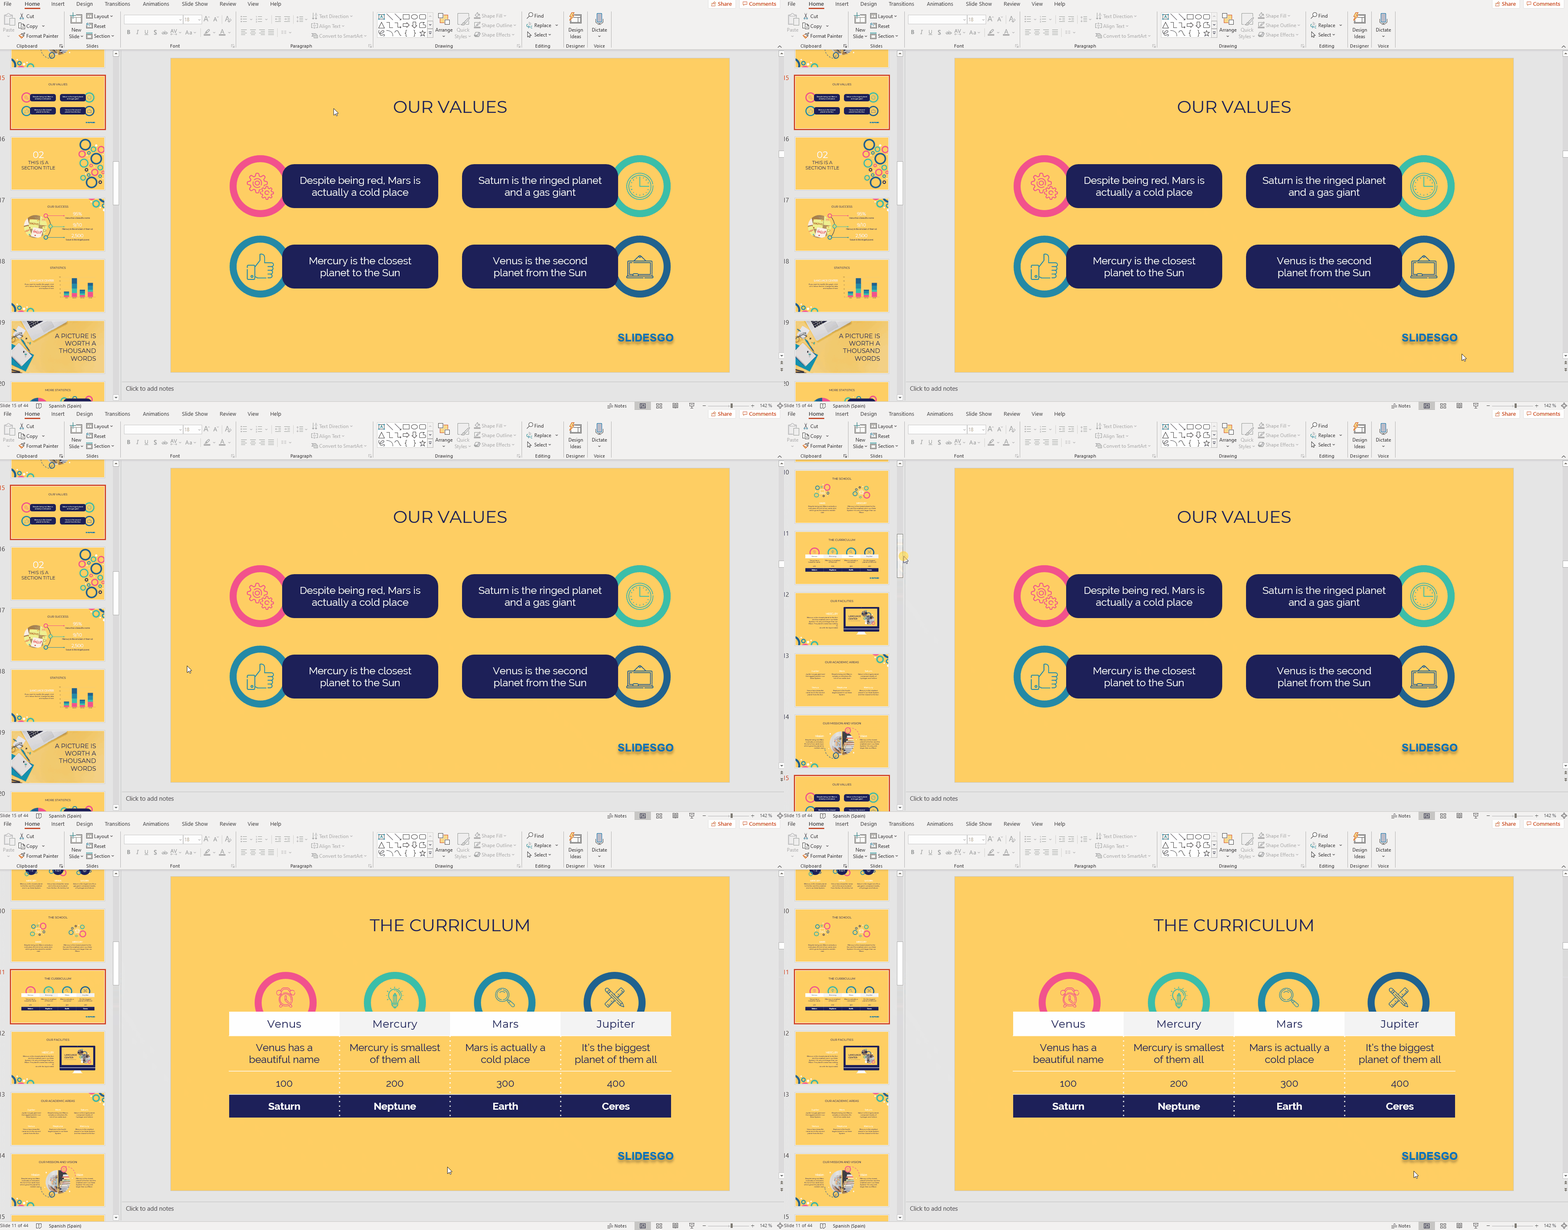
- Please note that this text won’t be directly editable on the slides. If you want to change it, you’ll need to access the master slides again. Remember that this text will be the same in all the slides derived from the same layout master.
- If you want to add the same text to all the slides, with no exceptions, follow these same instructions, but this time insert the text into the slide master (which is the topmost one on the Slide Master View) rather than into a layout master.

Copying and Pasting a Text Box
- You can copy any text box and paste it elsewhere. To do so, first select the text box you want to copy and, on the Home tab, click Copy. As an alternative, you can press Control + C.
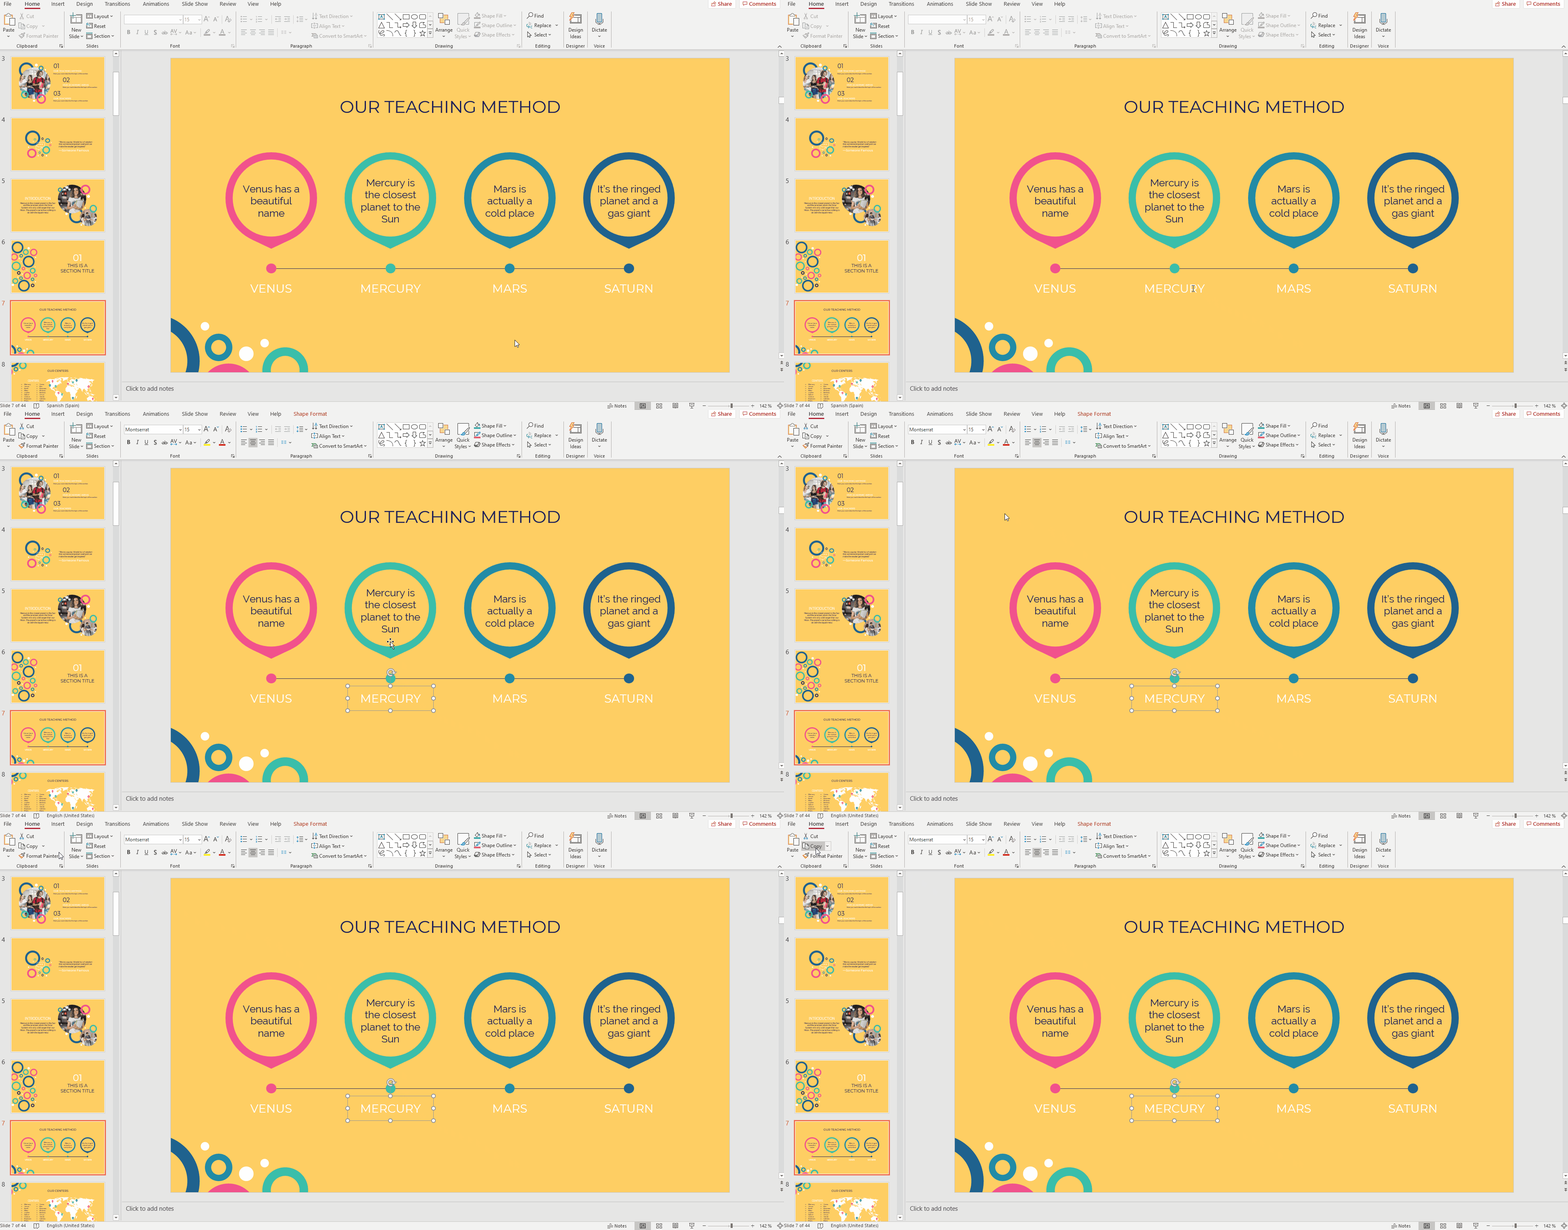
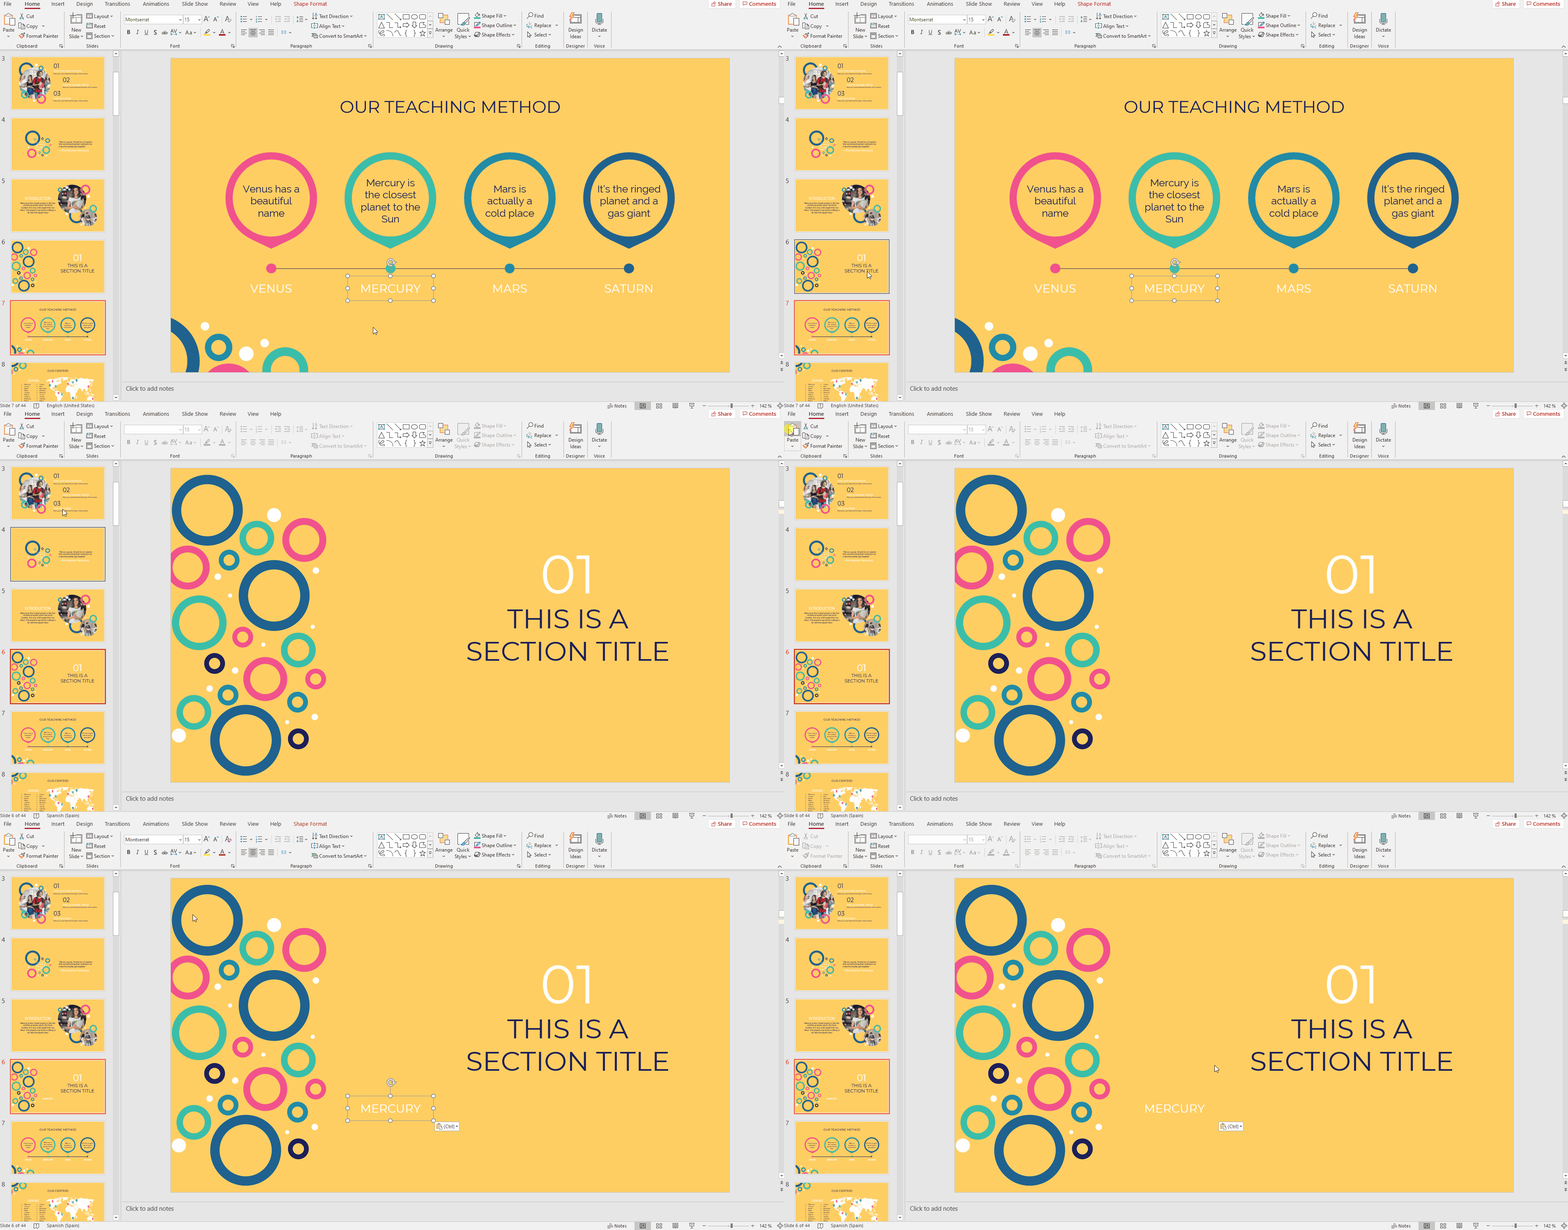
- Now select the slide where you want to paste it and, on the Home tab, click Paste. As an alternative, you can press Control + V.
Deleting a Text Box
- If you want to delete a text box, select it and then press the Delete key.
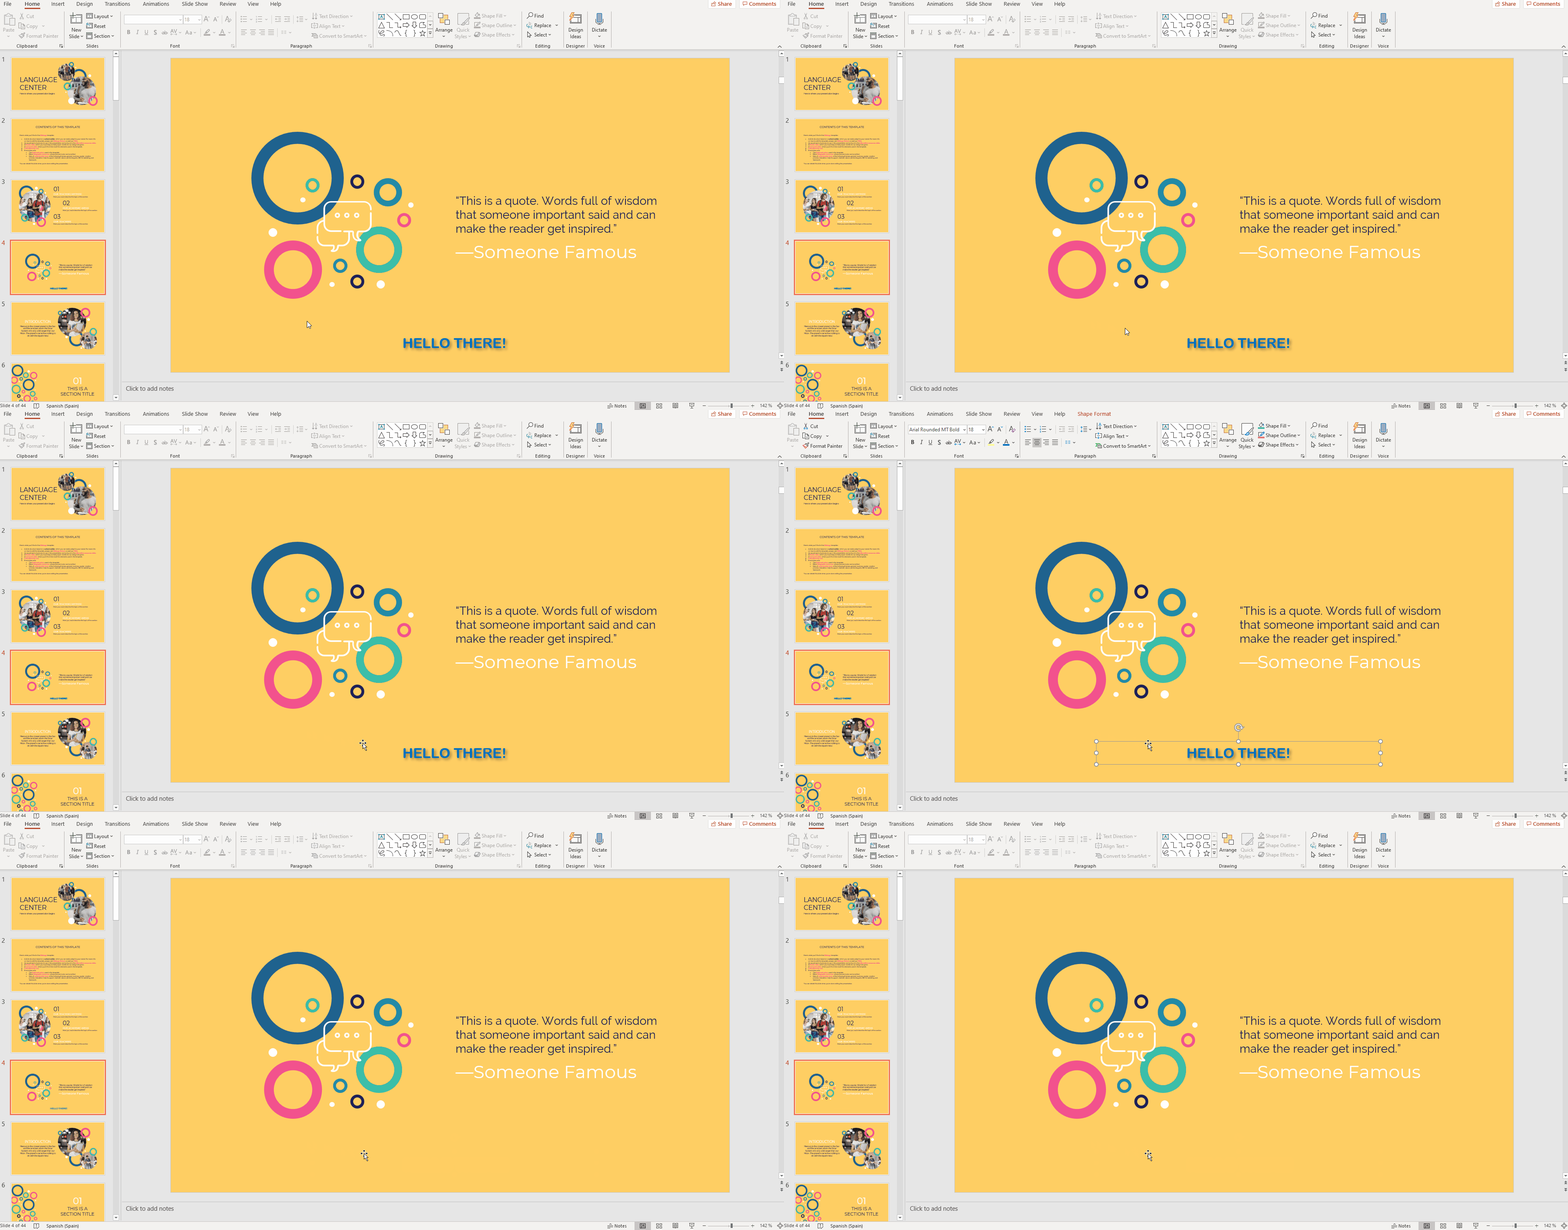
- Make sure you select the text box and not the text inside before pressing Delete. Otherwise, you’ll just delete the text inside, not the box.
