In this post, we offer a step-by-step guide on how to remove image backgrounds in PowerPoint—a useful skill for creating clean, professional-looking presentations. We’ve also included troubleshooting tips to help you resolve common issues that may arise during the process.
Understanding Background Removal in PowerPoint
PowerPoint’s “Remove Background” tool is designed to help you get rid of the background in your images, leaving only the main subject. It works best when there’s a clear distinction between the subject and the background.
Step-by-Step Guide to Removing Backgrounds
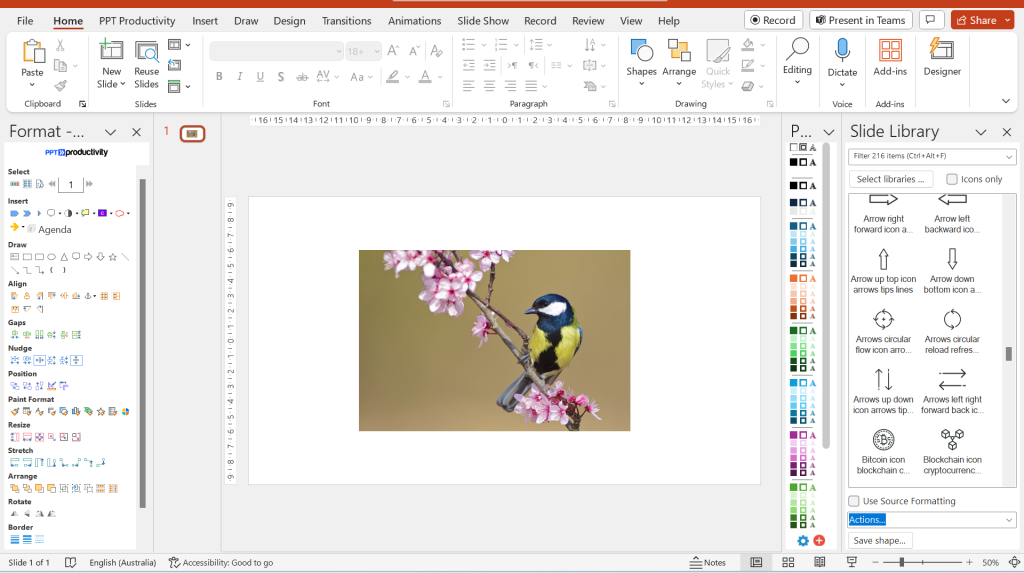
Let’s break it down into easy steps. First, make sure your image is already added to your PowerPoint slide.
Step 1: Select Your Image
Click on the image you want to edit, and you’ll see the “Format” tab pop up on the PowerPoint ribbon.
Step 2: Access the Background Removal Tool
Go to the “Format” tab and click on “Remove Background” in the “Adjust” section. PowerPoint will overlay your image with a pink and purple mask. Pink highlights the main subject, while purple covers the background.

Step 3: Fine-Tune the Mask
PowerPoint might not get it right on the first try. Use the “Mark Areas to Keep” and “Mark Areas to Remove” tools to adjust the mask. Just draw lines to indicate what should stay (pink) and what should go (purple).

Step 4: Finalize the Background Removal
Once you’re happy with the mask, click “Keep Changes” in the “Background Removal” tab. Your image will be free from its background.

Step 5: Save or Re-Insert the Edited Image
You can save your edited image as a new file or place it back into your slide. You’re done!
Step 6: Recolor background in PowerPoint
To recolor the background of an image after removing the original background, simply select the image and then click on your preferred color from the Home tab. PowerPoint remembers the original boundaries of your image and will fill the blank background with the color you select.
Troubleshooting Common Issues
Things don’t always go as planned. Here are some quick solutions for common problems when removing background from pictures in PowerPoint:
Problem 1: Background not getting identified / Tricky Mask Detection
If PowerPoint struggles to interpret your image, then it cannot identify the background to remove. You can try improving the lighting and contrast to make the subject stand out. Use the “Mark Areas to Keep” and “Mark Areas to Remove” tools for adjustments.
Problem 2: Missing or Excessive Background Removal
If some parts of the subject in your image vanish, or too much disappears, zoom in and carefully use the “Mark Areas to Keep” PowerPoint tool to fix it.
Problem 3: Complex Backgrounds
When trying to remove the background from pictures in PowerPoint, busy backgrounds can confuse PowerPoint. In such cases, consider using more advanced image editing tools like Adobe Photoshop.
Problem 4: Inconsistent Results
Remember that the PowerPoint remove background tool’s effectiveness can vary with different images. Experiment with various pictures to get the best results.
Problem 5: Image Quality
Low-quality or blurry images make it trickier to remove background from pictures in PowerPoint. Choose high-quality, sharp images whenever possible.
Problem 6: Accidental Clicks
Remember that if you mistakenly click “Keep Changes” and make an unwanted adjustment, use Ctrl+Z to undo and try again.
Problem 7: Limited Editing Capabilities
PowerPoint’s background removal tool is a convenient option for quickly eliminating backgrounds from many images. However, it doesn’t offer the precision of dedicated professional editing software. For photos with complex backgrounds or soft edges, consider using advanced tools like Adobe Photoshop for more accurate results.
With that said, you’re now equipped to start removing image backgrounds in PowerPoint. Don’t be discouraged if it takes a few tries—practice will help you master the technique and enhance the visual impact of your presentations.